Getting the best out of your acoustic foam isn’t just about sticking tiles on the wall – it’s about placing them smartly and preparing your space properly. Here’s our quick guide:
Step 1 – Prepare your walls
-
Wipe the surface clean and dry so adhesive holds well.
-
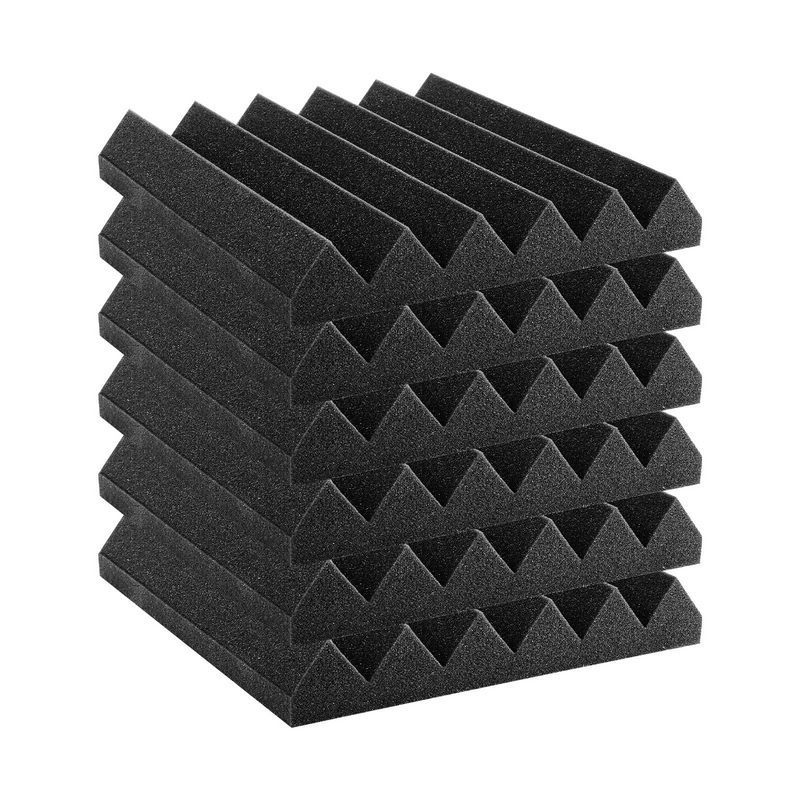
Let foam panels expand fully after unpacking (a few hours in open air, or a quick steam/dryer refresh if needed).
Step 2 – Choose your mounting method
-
Self-adhesive panels: peel and stick directly.
-
Non-adhesive panels: use strong double-sided tape, spray adhesive, or wallpaper paste on boards (safer for rented spaces).
Step 3 – Plan your layout
-
Start with first reflection points: side walls, behind your desk or mic, and rear wall.
-
Mix directions (rotate wedges/pyramids) to break up reflections.
-
Keep designs neat with checkered or alternating patterns.

Step 4 – Install the panels
-
Remove dust (as shown in the graphic).
-
Apply adhesive backing or tape.
-
Press panels firmly to the wall.
Step 5 – Fine-tune your space
-
Combine foam with rugs, curtains, or bookshelves for balanced acoustics.
-
Avoid covering every surface – leave some life in the room for a natural sound.
-
Ventilate after installation if you notice any new-product odour.